> ## Documentation Index
> Fetch the complete documentation index at: https://docs.staging.alpic.ai/llms.txt
> Use this file to discover all available pages before exploring further.
# User Intents
> Understand what your users really want from your MCP server.
### Overview
MCP apps and servers can see tool calls and their parameters, but not the conversation that triggered them.
User Intents offer an easy way to gather the user's intent behind each tool call, and help you analyze and categorise them.
 The [`@alpic-ai/insights`](https://www.npmjs.com/package/@alpic-ai/insights) package dynamically adds an extra parameter to all
your tools, asking the LLM to include the user intent while making sure to remove any **Personally Identifiable Information**.
Alpic then collects and stores those intents for you to explore.
### 1. Install the package
```bash theme={null}
pnpm add @alpic-ai/insights
```
### 2. Wire it into your MCP app/server
The package ships two entry points depending on which MCP framework you're using.
Use `intentMiddleware`: it returns a Skybridge `McpMiddlewareFn` you can register via `mcpMiddleware()`. Add it
before your tool/widget registrations:
```typescript theme={null}
import { intentMiddleware } from "@alpic-ai/insights";
import { McpServer } from "skybridge/server";
const server = new McpServer(
{ name: "my-mcp-server", version: "1.0.0" },
{ capabilities: {} },
)
.mcpMiddleware(intentMiddleware())
.registerTool(/* ... */);
```
Use `captureIntents`, it accepts an `McpServer` and patches the `tools/list` and `tools/call` in place.
```typescript theme={null}
import { McpServer } from "@modelcontextprotocol/sdk/server/mcp.js";
import { captureIntents } from "@alpic-ai/insights";
const server = new McpServer(
{ name: "my-mcp-server", version: "1.0.0" },
{ capabilities: {} },
);
server.registerTool(/* ... */);
captureIntents(server);
```
### 3. Deploy
Deploy your application on Alpic as usual. As soon as the new version is live on the [production environment](/build-deploy/environments), intents start flowing in.
### 4. View intents in the dashboard
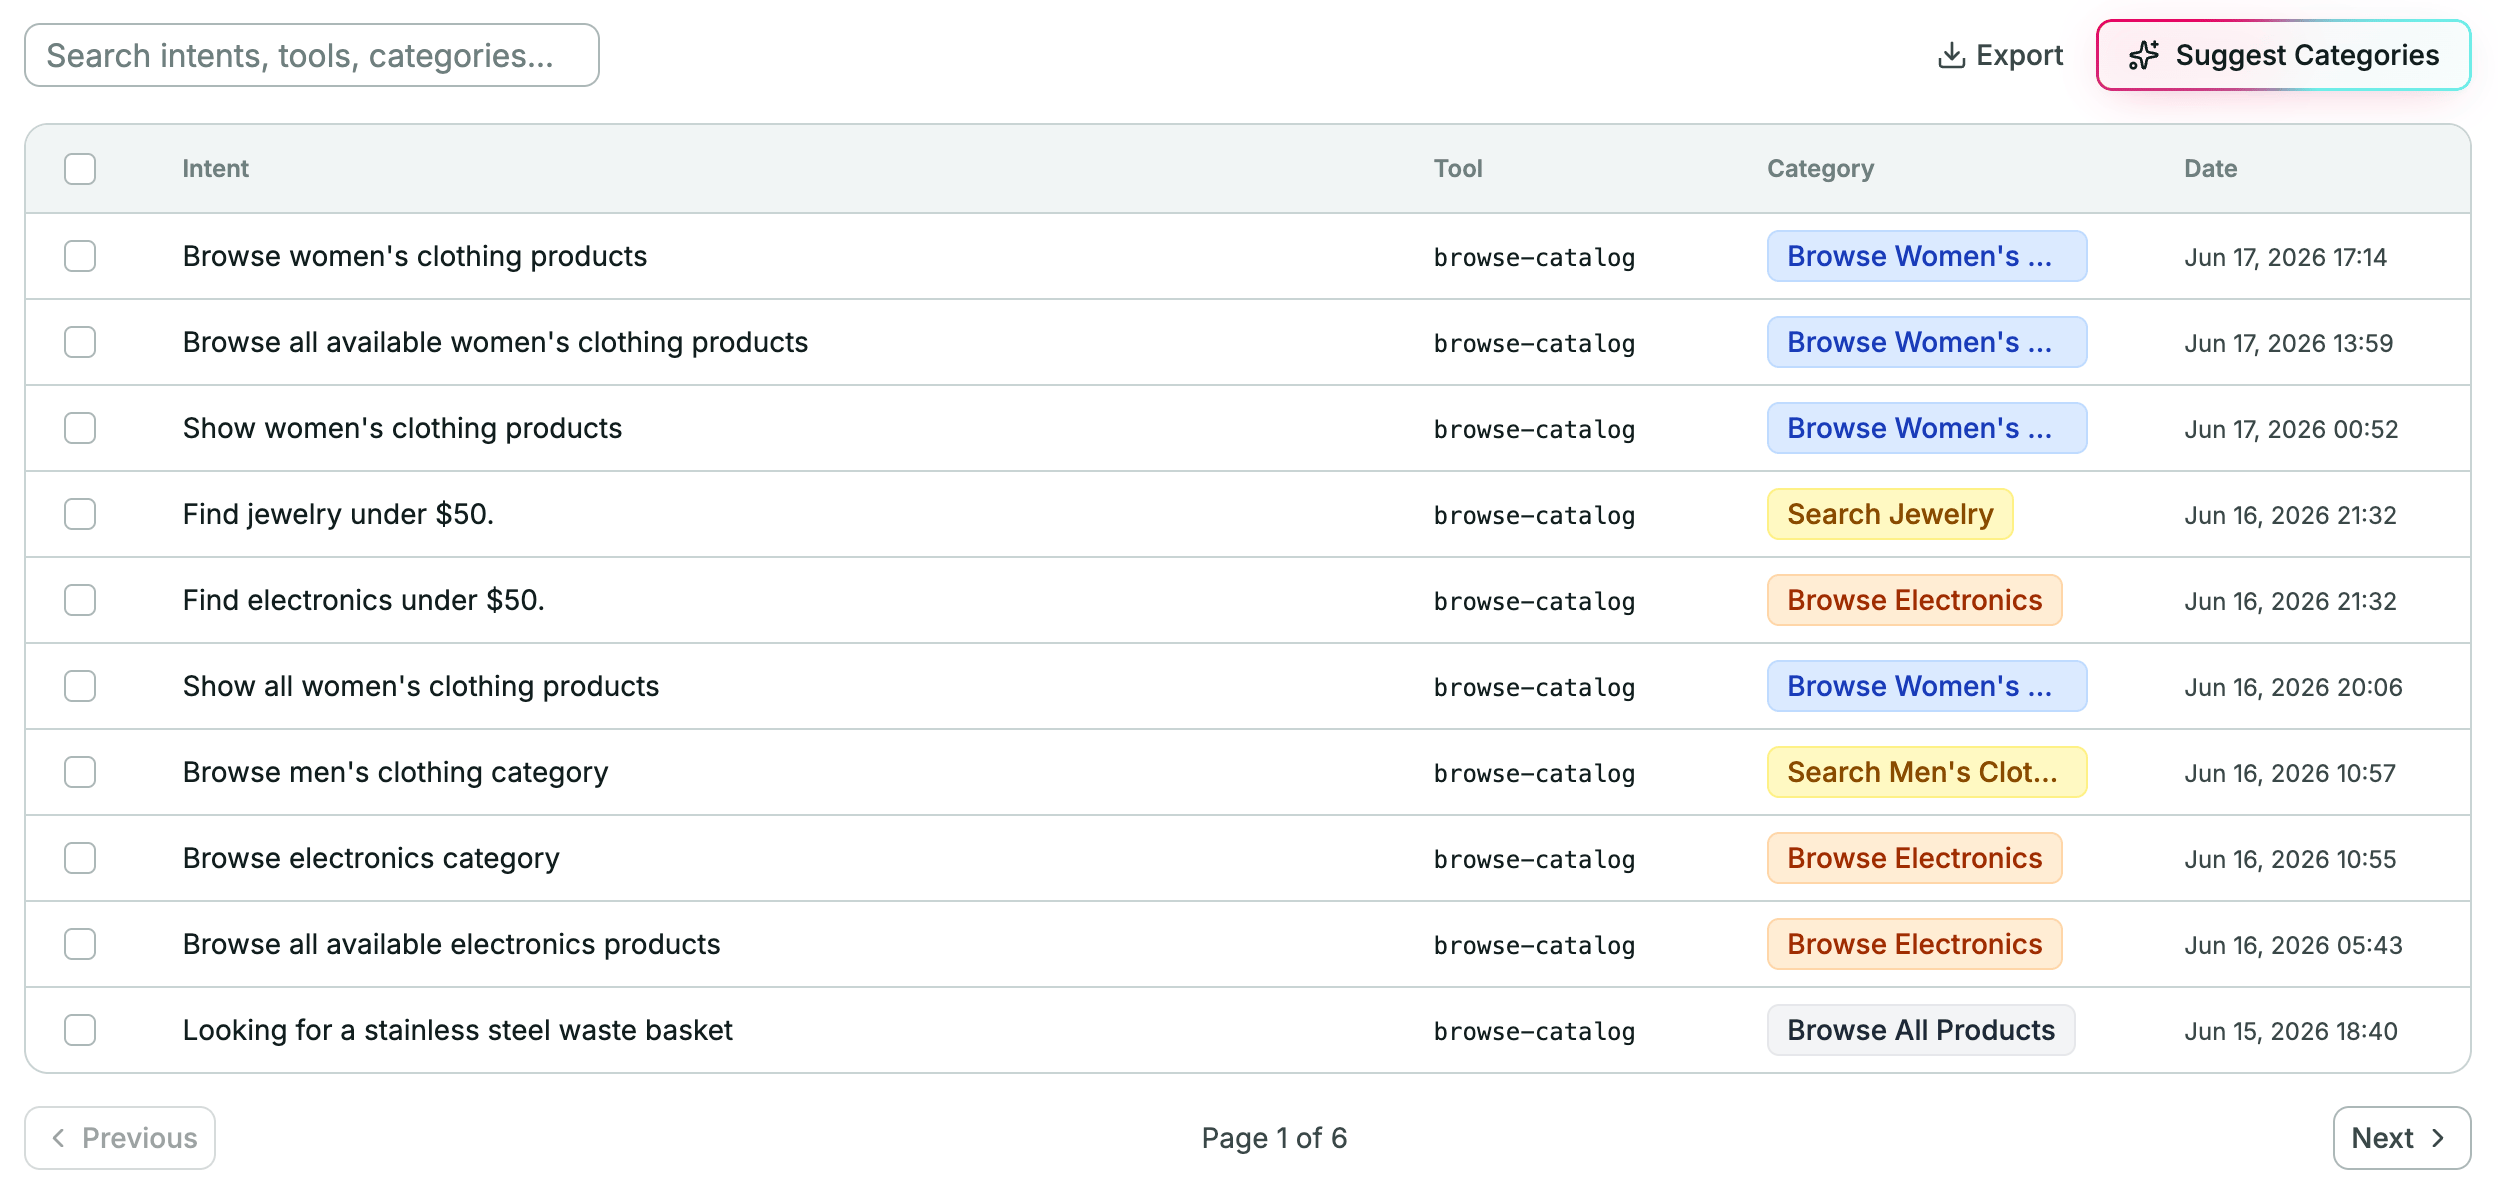
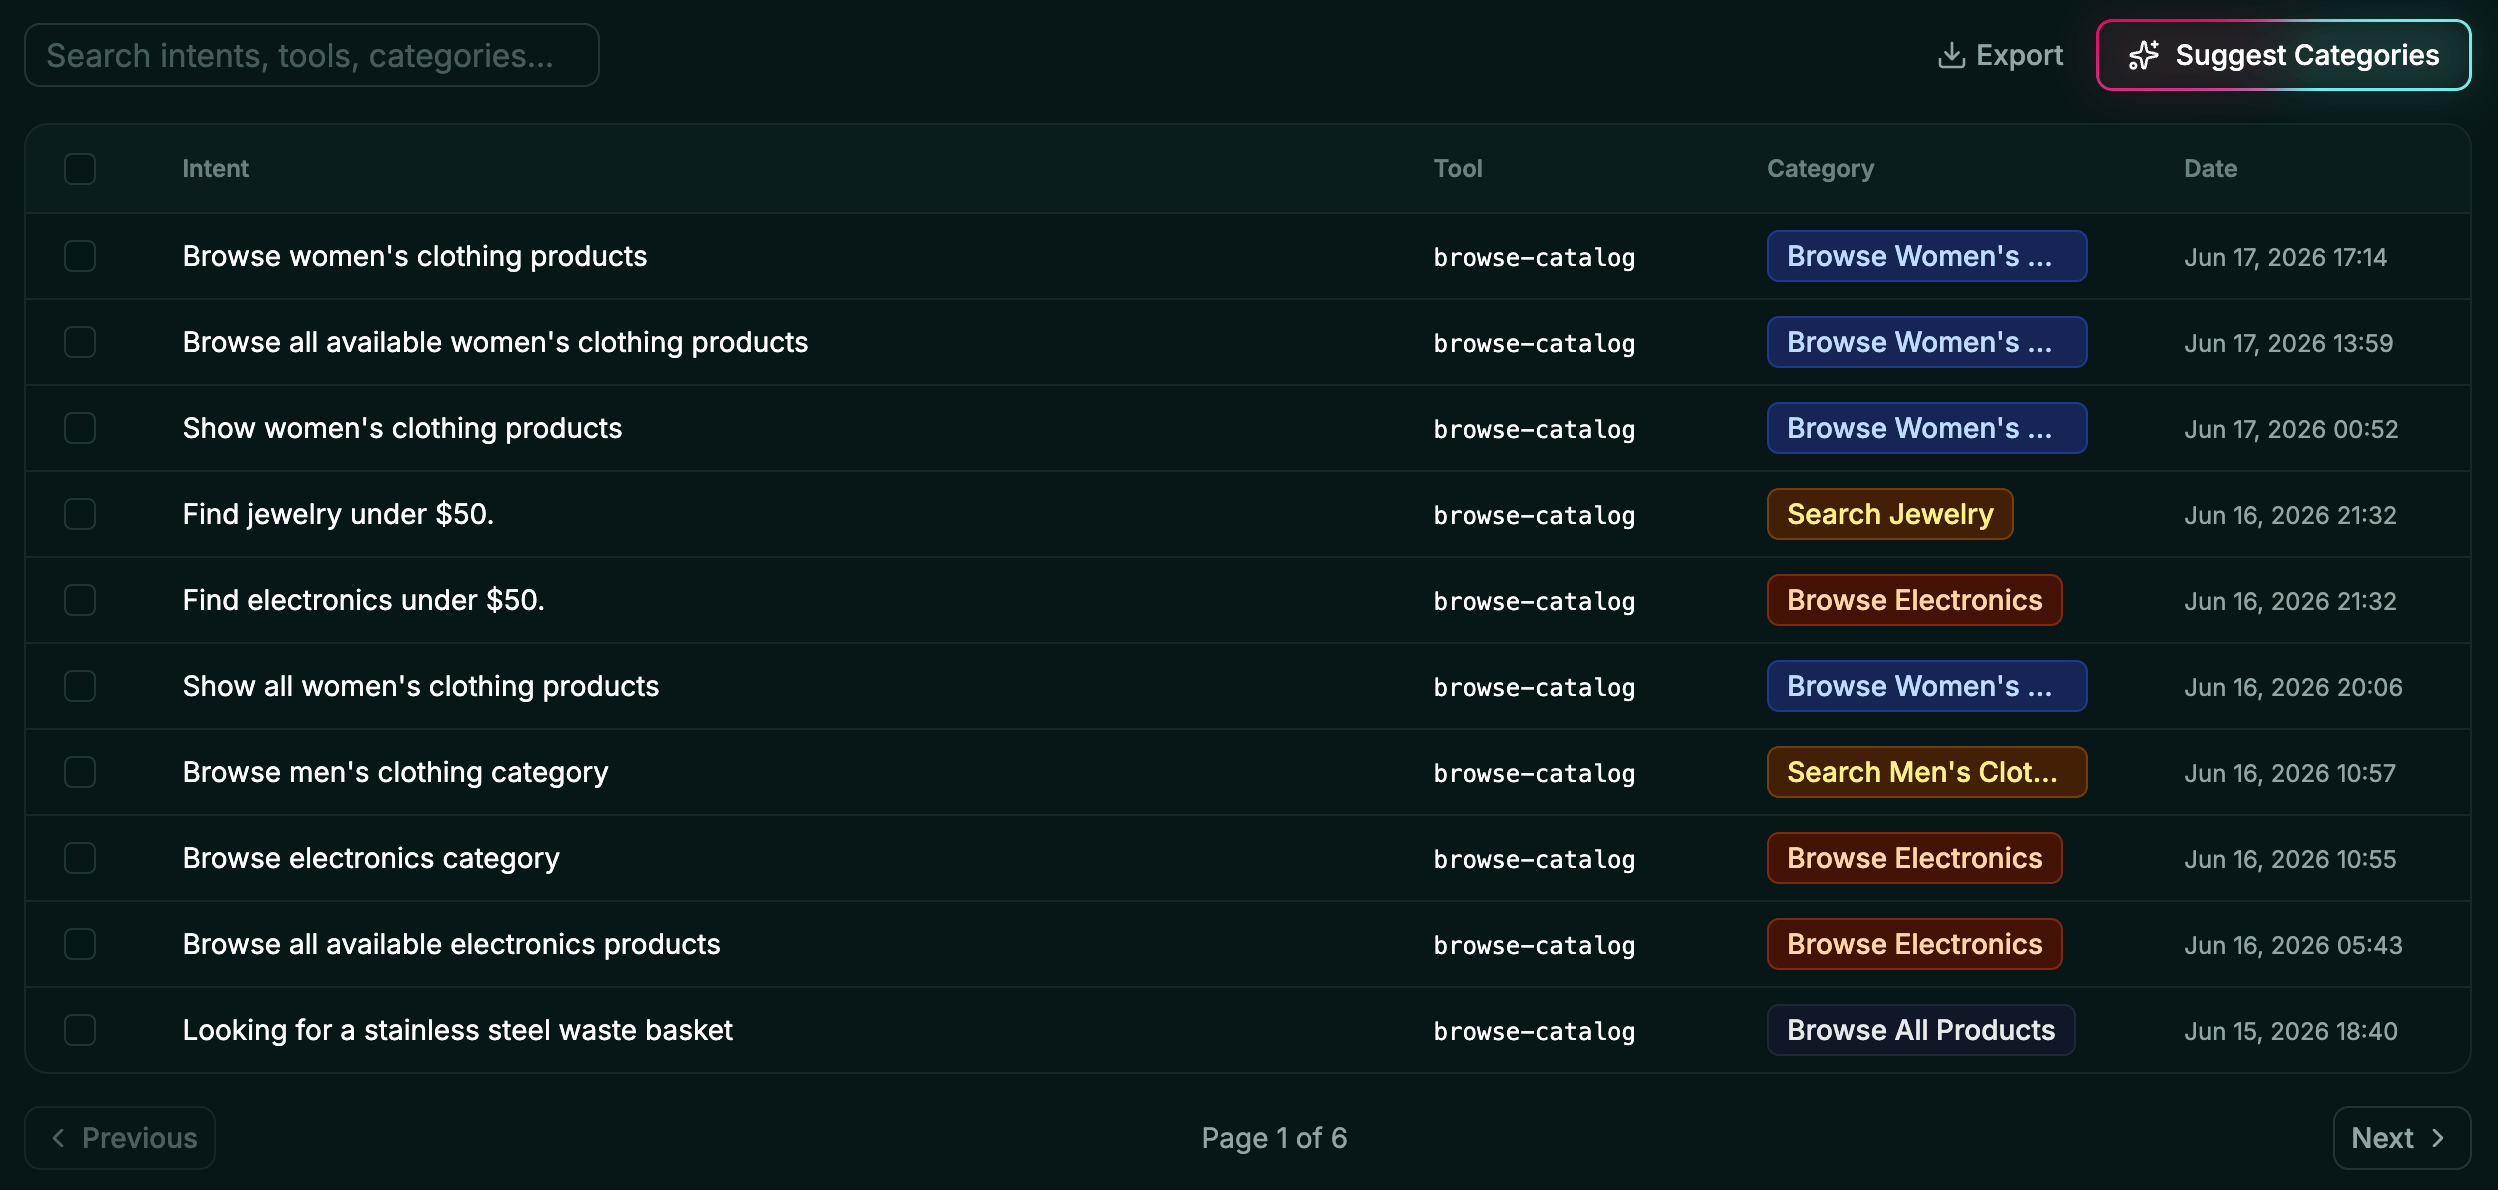
In the Alpic dashboard, open your project and click the **Insights** tab. You'll see a paginated table with four columns:
* **Intent:** the user's intent behind the tool call, summarized by the LLM.
* **Tool:** the name of the tool that was called.
* **Category:** automatically categorized into a reusable label. You can modify it directly in the table.
* **Date:** the timestamp of the tool call.
### 5. Spot trends and signals
**Hot Categories** & **Signals** offer you a high-level overview of user intents trends over the selected period.
The [`@alpic-ai/insights`](https://www.npmjs.com/package/@alpic-ai/insights) package dynamically adds an extra parameter to all
your tools, asking the LLM to include the user intent while making sure to remove any **Personally Identifiable Information**.
Alpic then collects and stores those intents for you to explore.
### 1. Install the package
```bash theme={null}
pnpm add @alpic-ai/insights
```
### 2. Wire it into your MCP app/server
The package ships two entry points depending on which MCP framework you're using.
Use `intentMiddleware`: it returns a Skybridge `McpMiddlewareFn` you can register via `mcpMiddleware()`. Add it
before your tool/widget registrations:
```typescript theme={null}
import { intentMiddleware } from "@alpic-ai/insights";
import { McpServer } from "skybridge/server";
const server = new McpServer(
{ name: "my-mcp-server", version: "1.0.0" },
{ capabilities: {} },
)
.mcpMiddleware(intentMiddleware())
.registerTool(/* ... */);
```
Use `captureIntents`, it accepts an `McpServer` and patches the `tools/list` and `tools/call` in place.
```typescript theme={null}
import { McpServer } from "@modelcontextprotocol/sdk/server/mcp.js";
import { captureIntents } from "@alpic-ai/insights";
const server = new McpServer(
{ name: "my-mcp-server", version: "1.0.0" },
{ capabilities: {} },
);
server.registerTool(/* ... */);
captureIntents(server);
```
### 3. Deploy
Deploy your application on Alpic as usual. As soon as the new version is live on the [production environment](/build-deploy/environments), intents start flowing in.
### 4. View intents in the dashboard
In the Alpic dashboard, open your project and click the **Insights** tab. You'll see a paginated table with four columns:
* **Intent:** the user's intent behind the tool call, summarized by the LLM.
* **Tool:** the name of the tool that was called.
* **Category:** automatically categorized into a reusable label. You can modify it directly in the table.
* **Date:** the timestamp of the tool call.
### 5. Spot trends and signals
**Hot Categories** & **Signals** offer you a high-level overview of user intents trends over the selected period.
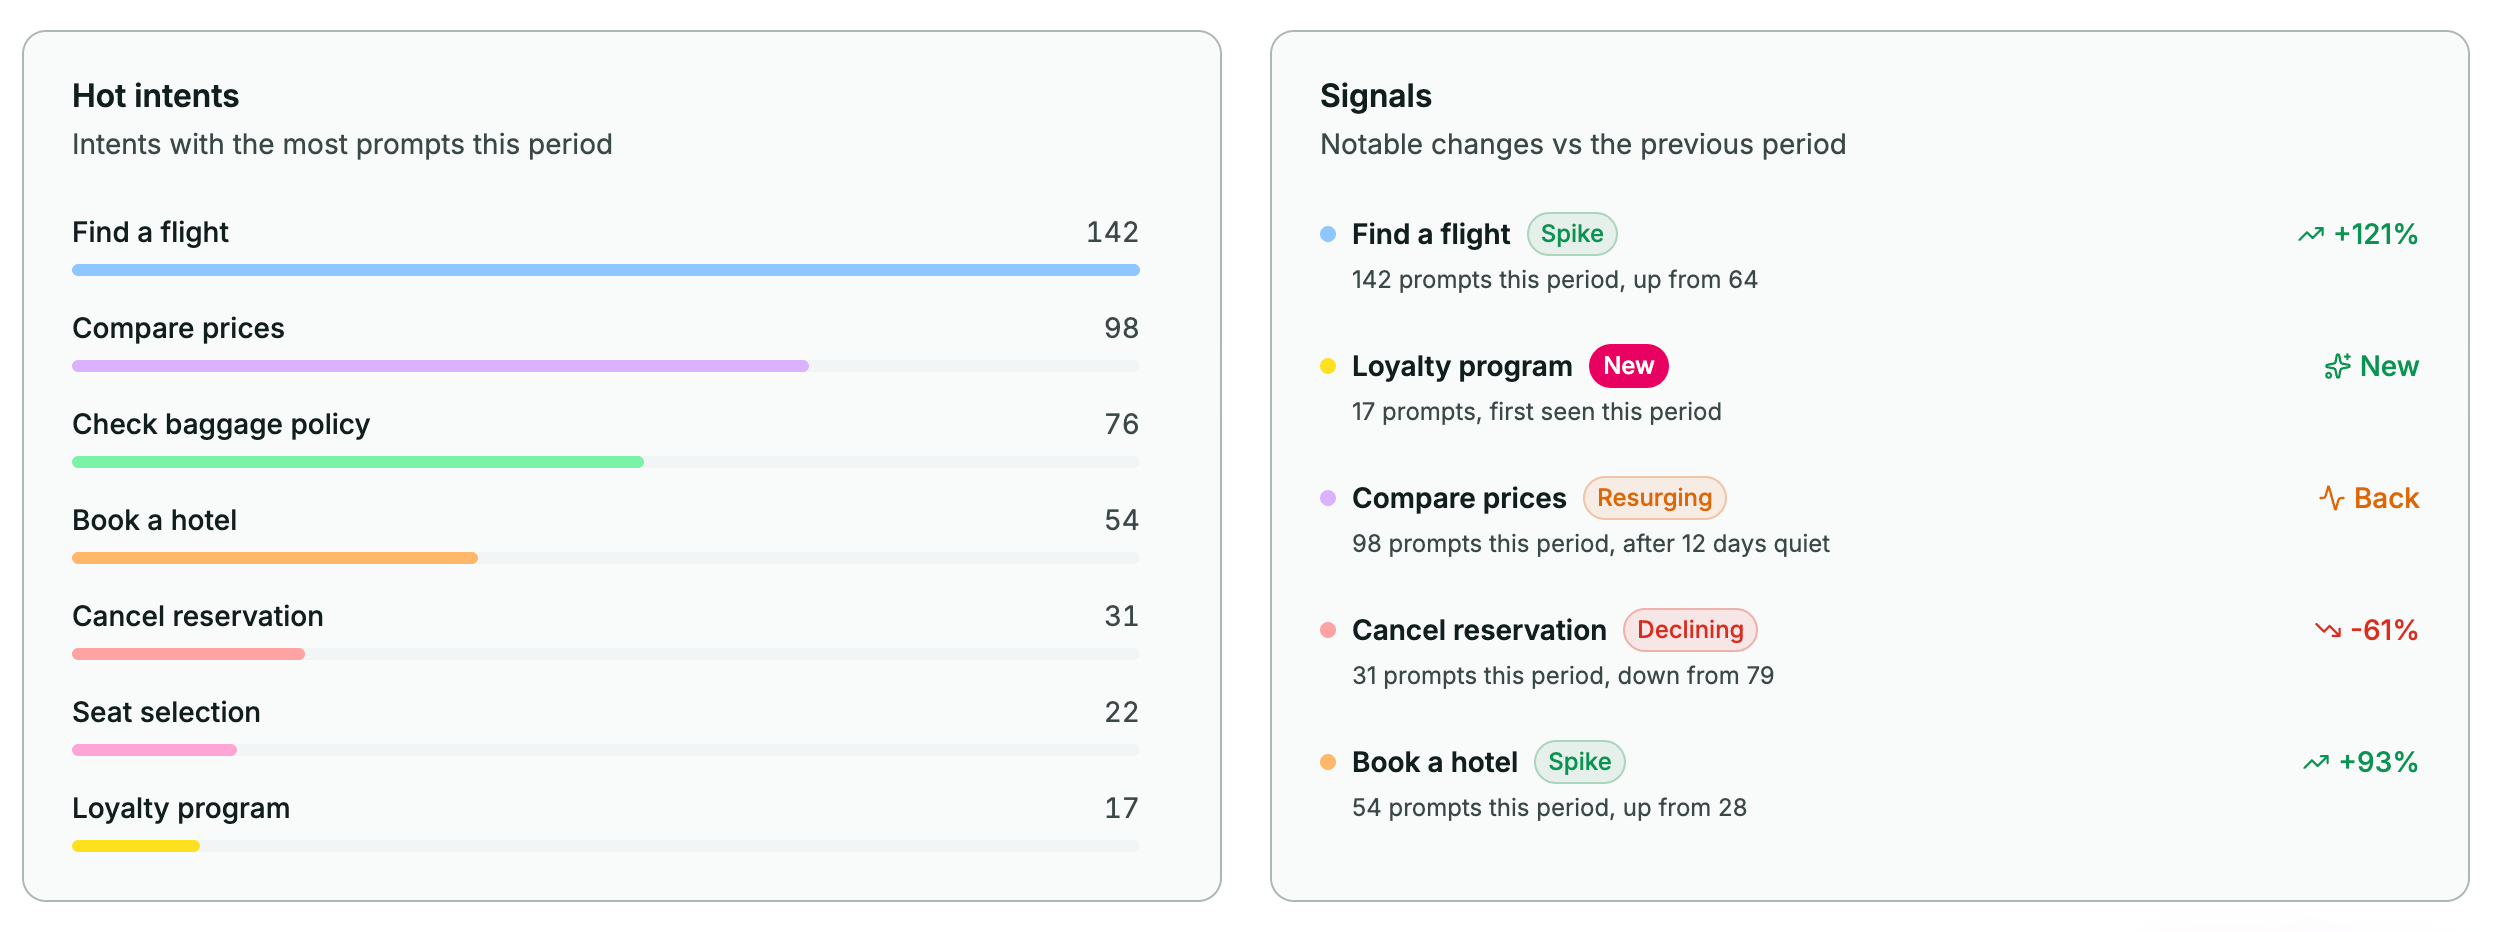
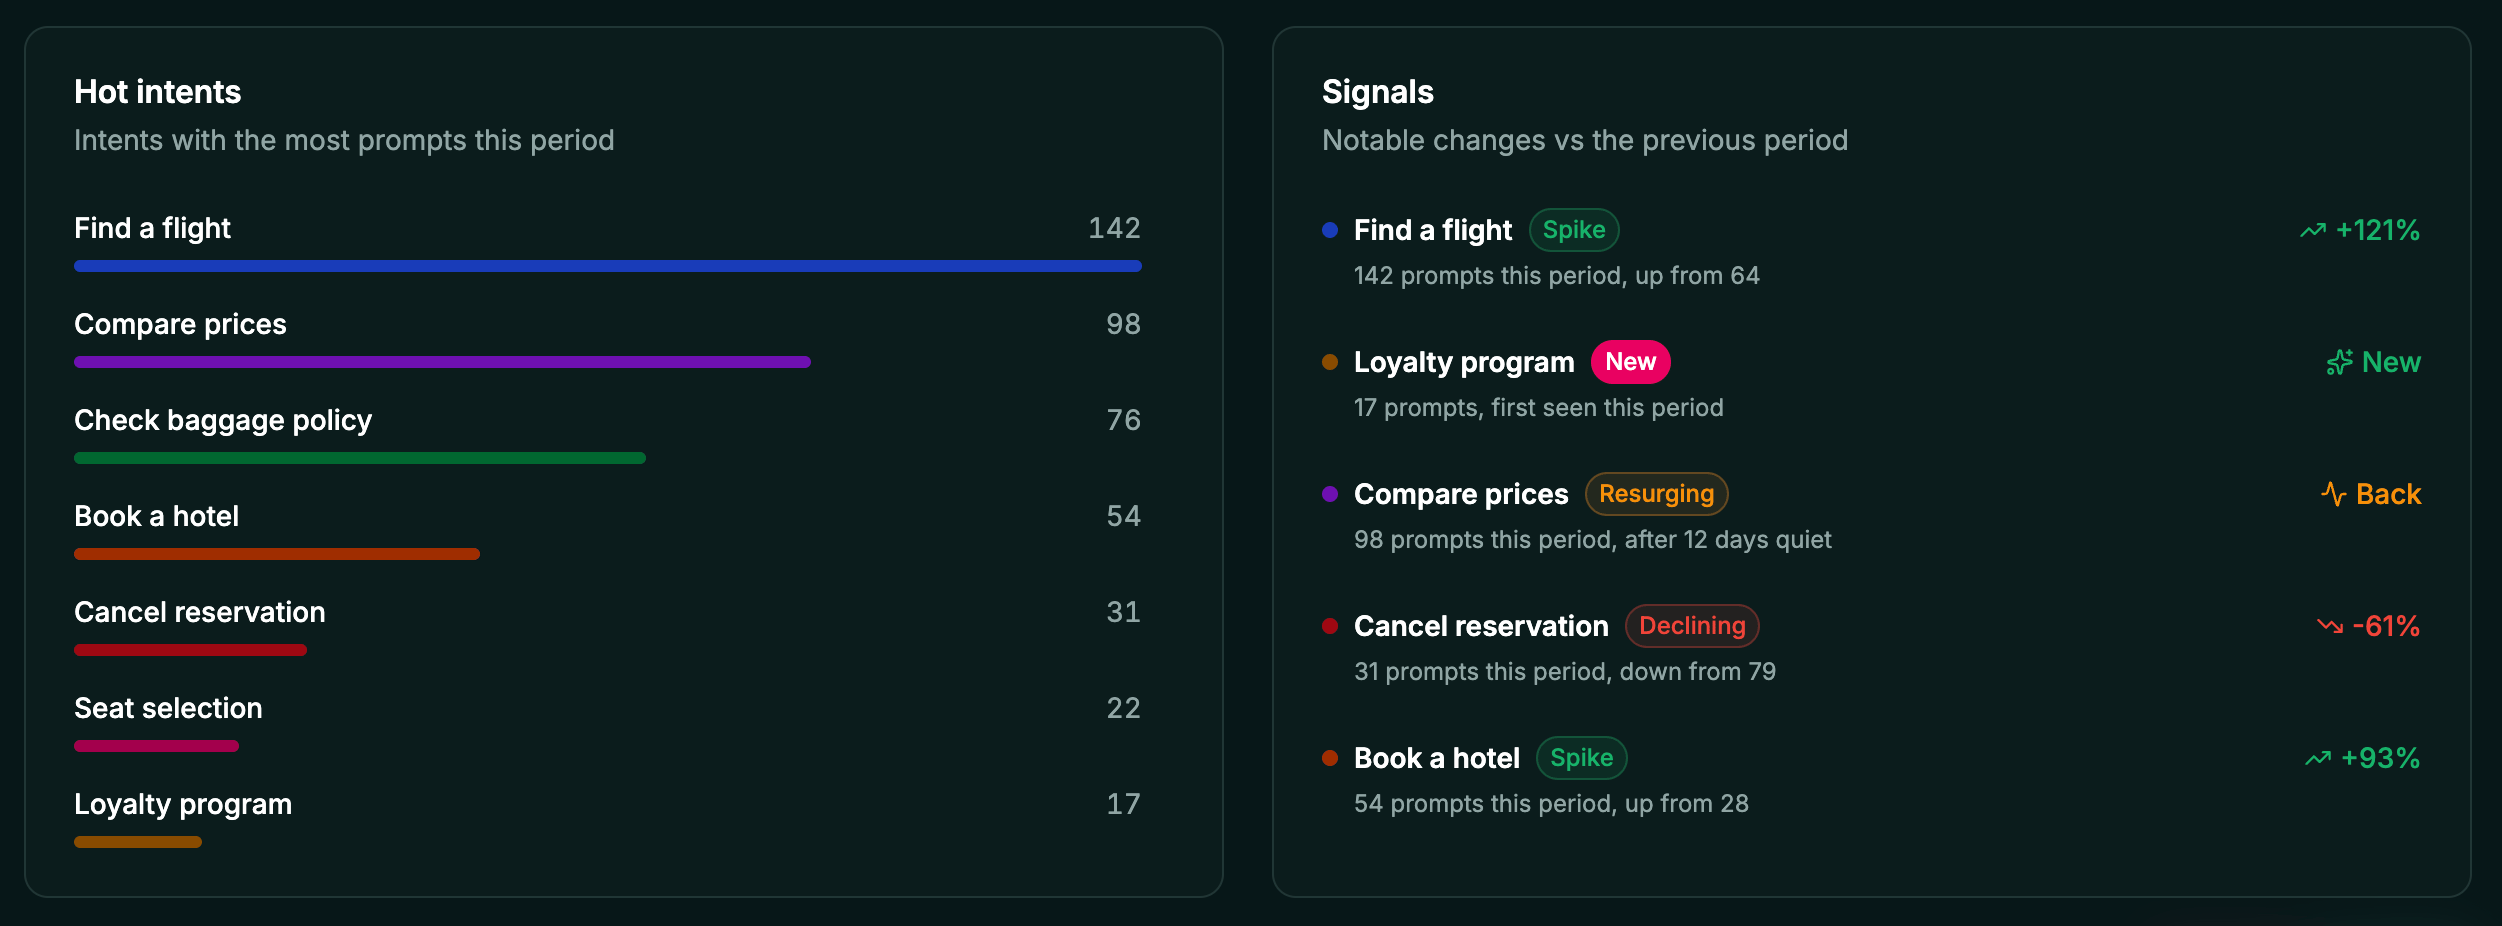 **Hot categories** show you the most common intent categories. It helps you understand what your users are trying to do with your MCP App/server.
**Signals** give you an overview of the important trends in user intent between the current period and the previous one. Switch the time range to update it.
### Optional: run a custom handler alongside Alpic
Pass a `handler` to run your own logic (e.g. sending intents to your own analytics pipeline) on every captured intent.
The handler runs **in addition to** Alpic's dashboard delivery, intents still appear in the **User Insights** page.
The handler runs inside your MCP server process:
```typescript theme={null}
.mcpMiddleware(
intentMiddleware({
handler: async ({ toolName, userPrompt }) => {
await myAnalytics.track("mcp_tool_call", { toolName, userPrompt });
},
}),
)
```
```typescript theme={null}
captureIntents(server, {
handler: async ({ toolName, userPrompt }) => {
await myAnalytics.track("mcp_tool_call", { toolName, userPrompt });
},
});
```
### Optional: capture from specific tools only
By default, `intentMiddleware` injects the `user_intent` field into every tool's schema. Use the `tools` option to
restrict capture to a subset of your tools:
```typescript theme={null}
.mcpMiddleware(
intentMiddleware({
tools: ["search", "ask"],
}),
)
```
```typescript theme={null}
captureIntents(server, {
tools: ["search", "ask"],
});
```
### Optional: capture from an existing tool field
If your tool already has a parameter that conveys user intent (for example, a `query`, `rationale`, or `question`
parameter on a search tool), you can capture its value instead of asking the LLM to copy the intent into a synthetic
`user_intent` field.
Use the `argumentNameOverride` option: a map of tool names to the input field whose value should be captured as the intent.
```typescript theme={null}
.mcpMiddleware(
intentMiddleware({
argumentNameOverride: {
search: "query", // The tool "search" has a "query" parameter that conveys user intent
ask: "question", // The tool "ask" has a "question" parameter that conveys user intent
},
}),
)
```
```typescript theme={null}
captureIntents(server, {
argumentNameOverride: {
search: "query", // The tool "search" has a "query" parameter that conveys user intent
ask: "question", // The tool "ask" has a "question" parameter that conveys user intent
},
});
```
### 6. Export your data
Export your intent data as a CSV file whenever you want to analyze it in your own tools or combine it with your existing workflows.
**Hot categories** show you the most common intent categories. It helps you understand what your users are trying to do with your MCP App/server.
**Signals** give you an overview of the important trends in user intent between the current period and the previous one. Switch the time range to update it.
### Optional: run a custom handler alongside Alpic
Pass a `handler` to run your own logic (e.g. sending intents to your own analytics pipeline) on every captured intent.
The handler runs **in addition to** Alpic's dashboard delivery, intents still appear in the **User Insights** page.
The handler runs inside your MCP server process:
```typescript theme={null}
.mcpMiddleware(
intentMiddleware({
handler: async ({ toolName, userPrompt }) => {
await myAnalytics.track("mcp_tool_call", { toolName, userPrompt });
},
}),
)
```
```typescript theme={null}
captureIntents(server, {
handler: async ({ toolName, userPrompt }) => {
await myAnalytics.track("mcp_tool_call", { toolName, userPrompt });
},
});
```
### Optional: capture from specific tools only
By default, `intentMiddleware` injects the `user_intent` field into every tool's schema. Use the `tools` option to
restrict capture to a subset of your tools:
```typescript theme={null}
.mcpMiddleware(
intentMiddleware({
tools: ["search", "ask"],
}),
)
```
```typescript theme={null}
captureIntents(server, {
tools: ["search", "ask"],
});
```
### Optional: capture from an existing tool field
If your tool already has a parameter that conveys user intent (for example, a `query`, `rationale`, or `question`
parameter on a search tool), you can capture its value instead of asking the LLM to copy the intent into a synthetic
`user_intent` field.
Use the `argumentNameOverride` option: a map of tool names to the input field whose value should be captured as the intent.
```typescript theme={null}
.mcpMiddleware(
intentMiddleware({
argumentNameOverride: {
search: "query", // The tool "search" has a "query" parameter that conveys user intent
ask: "question", // The tool "ask" has a "question" parameter that conveys user intent
},
}),
)
```
```typescript theme={null}
captureIntents(server, {
argumentNameOverride: {
search: "query", // The tool "search" has a "query" parameter that conveys user intent
ask: "question", // The tool "ask" has a "question" parameter that conveys user intent
},
});
```
### 6. Export your data
Export your intent data as a CSV file whenever you want to analyze it in your own tools or combine it with your existing workflows.